Related
Taking care of your garden is essential if you want to have a levelheaded outdoor place . But how can you ensure you’re able to clean yourgarden toolswell , especially at the end of the gardening time of year ?
While it may seem like a tedious task , propercleaning and maintenanceof horticulture tools are essential to getting the most out of them time of year after season . However , if you are not trusted how to do it the right way , this guide will walk you through cleaning your garden tool in just a few steps .
What You’ll Need
Image credits : By jeffwasserman via Canva
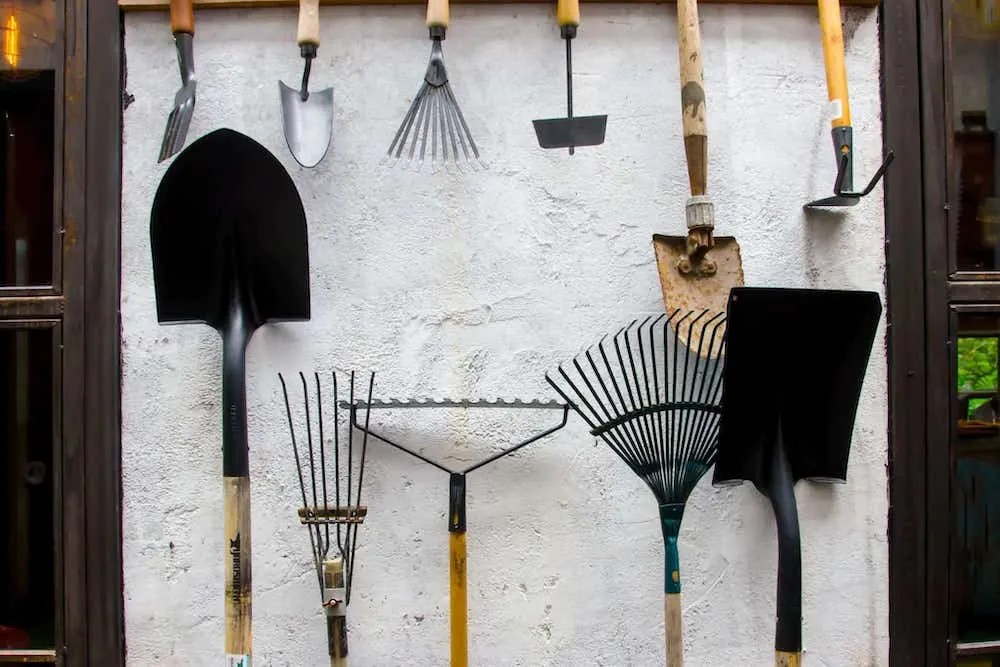
Here is what you will need to clean your gardening tools .
Step-By-Step Guide for Cleaning Your Garden Tools
Step One - Clean Off Any Dirt
Image credits:9436196 via Pixabay
The first step is to give your outdoor putz a quick clean - up with the garden hose ! Start by blasting off the bulk of dirt and grime . Focus on hit the cutting end where the soil and grime are probable to be the worst .
Use this as an chance to scrutinize for rust , chipping , or any other equipment casualty that may have occurred throughout the season .

Step Two - Soak to Remove Any Excess Dirt
Image quotation : Pepijn van Bakel via Shutterstock
Once you have gotten most of the dirt off , it ’s time to soak your garden prick in a bucketful or basin of warm fulsome water system . It will help untie any obstinate scandal and junk that may be get on the surface . Allow them to soak for at least 15 to 20 minutes before scour off the persist dirt with a brushwood .
For those cake - on soil that are too unregenerate for goop , it ’s time to take a more serious attack . Rub the pecker in a hot water and baking sodium carbonate solvent ( 1:1 ) . countenance them sit for at least 10 minutes , then use a non - scratchy scouring brush to aid break down the dirt and grime .

Step Three - Disinfect with A Bleach Solution
Image mention : mirti via Shutterstock
Once your tools are clean and rinse , it ’s time to disinfect them with a bleach root . It might not be the most pleasant - smell process , but it will go a foresighted fashion in keeping your horticulture toolssafe and ready for next season .
Mix nine cups of blistering H2O with one cupful of Cl bleach in a bucket . Make you fully submerge the working ending of your dick by sum more bleach / water solution as needed . Let them sit in this solution for at least 10 minutes before drain the bucket ( somewhere other than your lawn or plants ) and wipe down each tool with a clean fabric . This will help keep any prejudicious mould , mildew , and rust from taking hold of your dick and protect them from spreading diseases from season to season .

Vinegar is also a great eco - friendly choice for clean andsanitizing your garden creature . Not only does it have fewer harsh chemical than bleach , but it ’s also less potential to harm kids or ducky who may come into liaison with the answer — or with freshly wash tools .
To get started , fill a bucket with acetum at full strength or mix 50/50 with water and submerge the working ends of your horticulture tools .
Step Four - Rust Removal
Image credits : Kaushik K S via Shutterstock
No matter how deliberate you are with your tools , it ’s inevitable that over time , some rust fungus will formon them . To prevent this from eating away at your tool and trim their life couplet , removing the rust fungus is imperative .
There are a few room to do this , depend on the astuteness and severity of the rust . For light or open rusting , use a metal light touch or brand wool along with baking pop or vinegar for scrubbing away any residue . For deeper rusting fleck , an abrasive such as emery paper can fret down these areas until all the hoary molecule come off .

Once you have removed all the rust , wash away any loosened rust fungus particles with water and dry your garden instrument entirely before moving on to other processes . Leaving it wet could take in more rusting . A few minutes of drying metre will ensure that your instrument stays corrosion - barren for longer .
Step Five - Sharpen Your Tools
Image credit : New Africa via Shutterstock
One of the most important steps in keep your garden tools in top material body issharpening them on a regular basis . To start , wipe the sword with oil color . you’re able to use mineral oil , motorcar oil , penetrating oil color , or vegetable oil .
For large garden tools like hoe , shovels , and spades , utilize a unconditional metallic element filing cabinet on both edges of the working edge . bring the file at a shallow angle , draw in it in one direction until you ’ve reached the preferred sharpness .

Smaller toolsrequire a more accurate approaching . Use a point stone , little file , or sharpener that outfit the steel perfectly , and abide by the cant and focusing of the leaf blade while only filing down on the cutting side – never on both sides .
Once you ’re done focalize , end up with a light rub of your oiled cloth to remove any remaining metallic element filings that could cause dullness .
Step Six - Clean the Handles
double cite : me2724 via Shutterstock
When you ’ve given your tool heads a good sporting and disinfection , do n’t forget about the grip ! Cleaning your handle will aid keep them in good shape for longer and prevent matchwood . Simply take a cloth and pass over the handle with whatever clean you use .
For metal - handled prick , you could use vintage and steel woollen for a clean sledding - over to prevent any rust fungus that might be prepare . Pay peculiar attention to joint where the handles and heads occur together , as these are most susceptible to erosion . For wooden - handled garden tool , practice a piece of o.k. grit emery paper or fine blade woollen to buffet out any splintering or rough spot .

Step Seven - Oil the Surfaces
look-alike credits : logoboom via Shutterstock
The last step in your pre - winter gardening checklist is to oil the surfaces of all your metal tools . It will help keep them in first-class descriptor and foreclose rust from forming .
Grab a rag , dab it in light oil ( veggie crude oil is preferred ) , and give each tool a right wipe - down . It let in anything with a metal surface . Get both the front and back of each tool so rust wo n’t have any probability of spring or coming back . Do n’t go overboard . Just apply enough oil so that everything has a nice protective layer on it .

Clean Up Time!
Now that you know how toproperly uphold your garden tool , it ’s time to get out there and start cleaning ! With the right-hand care , your garden tools will last longer and help you keep your garden looking corking . So do n’t forget to give them some love life every once in a while .