This post may turn back affiliate link .
Share this post or trap it for afterwards !
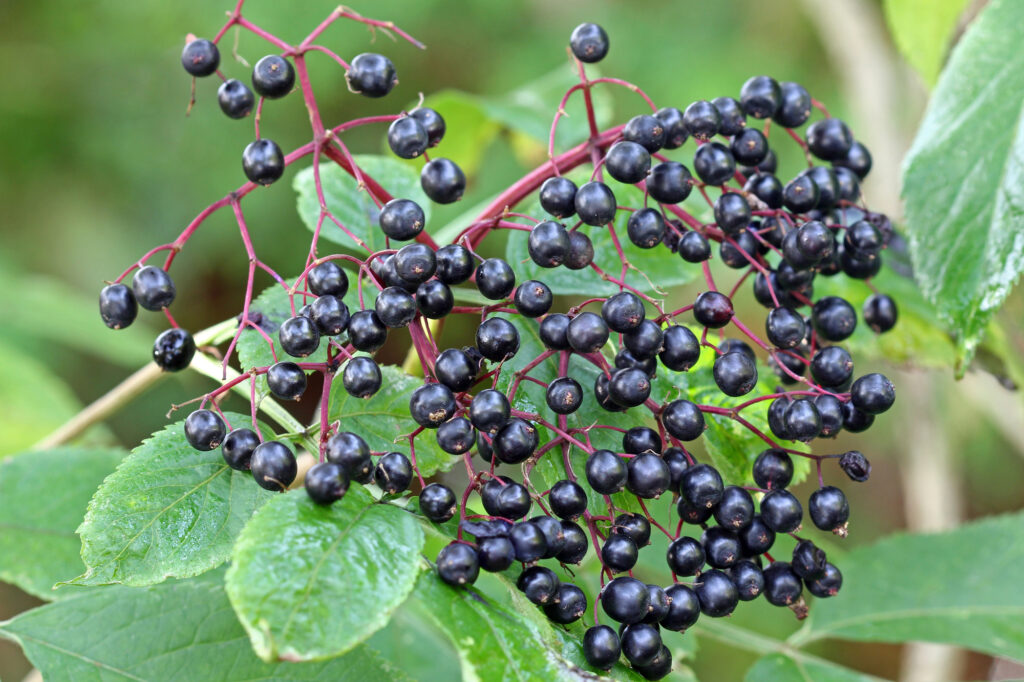
Elderberries make a with child addition to any farm or homestead . The medicative properties of elderberries are implausibly worthful . The flowers can infuse tea and other herbal products , and the ripe berries can be used forhomemade elderberry syrup , baking , cookery , or winemaking .

Growing elderberries is actually jolly easy , and once you have a works or two , you may procreate your Chuck Berry speckle simply by taking cutting from your plants and propagate them !
We have three full - turn elderberry bushes ( Sambucus nigra ) , and this twelvemonth , we took about 30 cutting to spread so that we could lucubrate our own collection and share it with friends and neighbors .
There areseveral method for taking press cutting from elderberry , but this article describes the cognitive process of using hardwood cuttings to circularise during the wintertime or early spring .
How to Propagate Elderberries
Step 1: Cut the Shoots of Elderberry Plants
While your elderberry industrial plant is still dormant , it ’s prison term to set off propagating . Look for shoots that hold out from the main base of the works , about the breadth of a finger .
Anything smaller should be left to grow for another twelvemonth or two . Cut the shoot at an slant as snug to the ground as potential .
Step 2: Create Sections from the Cuttings
To propagate each elderberry plant , you ’ll need a cutting with two lymph node — one towards the bottom and one towards the top .
ensure to note the preference of the cut to keep caterpillar track of which death is “ up . ” Angle the bottom snub and keep the top cut direct . Typically , you could get 4 - 6 sections from each shoot .
Step 3: Store the Cuttings (optional)
If you are not going to be plant your cuttings right aside , keep them in a coolheaded , moist place until you are ready . A plastered plastic bag with moisture out of direct sunshine will work .
Step 4: Plant your Cuttings
To plant your cuttings in a potty , satiate a medium - sized container ( we use empty quart - sized yogurt container with holes drilled in the bottom ) about 2/3 full with potting grime enriched withcompostif you have it . entomb the bottom “ node ” ( bud ) of your cutting about 2 column inch below the soil .
Step 5: Store It
Place these pots in a cool area instead of a warm greenhouse to forestall exuberant leafing out at the top before the roots have a fortune to establish firmly at the bottom .
Once the plants demo mansion of strong root growth — such as being well - rootle in the soil and buds initiate to emerge on top — you could either portion out them with others or transplant them to their permanent location .
Where to Plant Elderberries
you may plant your elderberry cuttings directly into the undercoat before the warm atmospheric condition arrives . This ensures that the lowly node , bury beneath the ground , can establish itself before the top of the plant begins to leaf out .
take a location for your bourtree with full to fond sunlight and acid ground , although elderberries are quite adaptable . It ’s a good idea to start several shoots , as not all may take root . ask to see berries on your plant within about two years .
Last year , we planted a shoot like this , and by the final stage of the growing time of year , the plant had reached a tiptop of 2 foot with multiple shoot sprouting up !


